Friday, June 24, 2011

The Downs Kids

This photo is of Bessie (age 2), Reva (age 7) & Ray (age 5) Downs.  It was taken by Menlove Studios in Provo.  There isn't a date on the photo so I'll have to look up the kids birthdays to find when this photo was taken.  The original photo was a 3x5 & on first examination it seemed that the only damage was to the edges of the photo.  Once I looked closer, though, I noticed that the whole picture is severely scratched from years of movement against another object.  I also noticed that all 3 kids faces were damaged in the development process.

I'm happy to say that I was able to repair all the damage plus correct the damage that was done during development & that this picture is now "better" that the original.

Original Photo

(restored photo)


Bessie (original photo)

(restored photo)


Ray (original photo)


(restored photo)


Reva (Original Photo)

(restored photo)


Monday, February 28, 2011

Who knew a wet glass could be so damaging?

All this damage was caused by a cold glass, covered in condensation, being sat on the photograph.  This photograph was also a reproduction, which made the quality tougher to work with.


Thursday, January 13, 2011

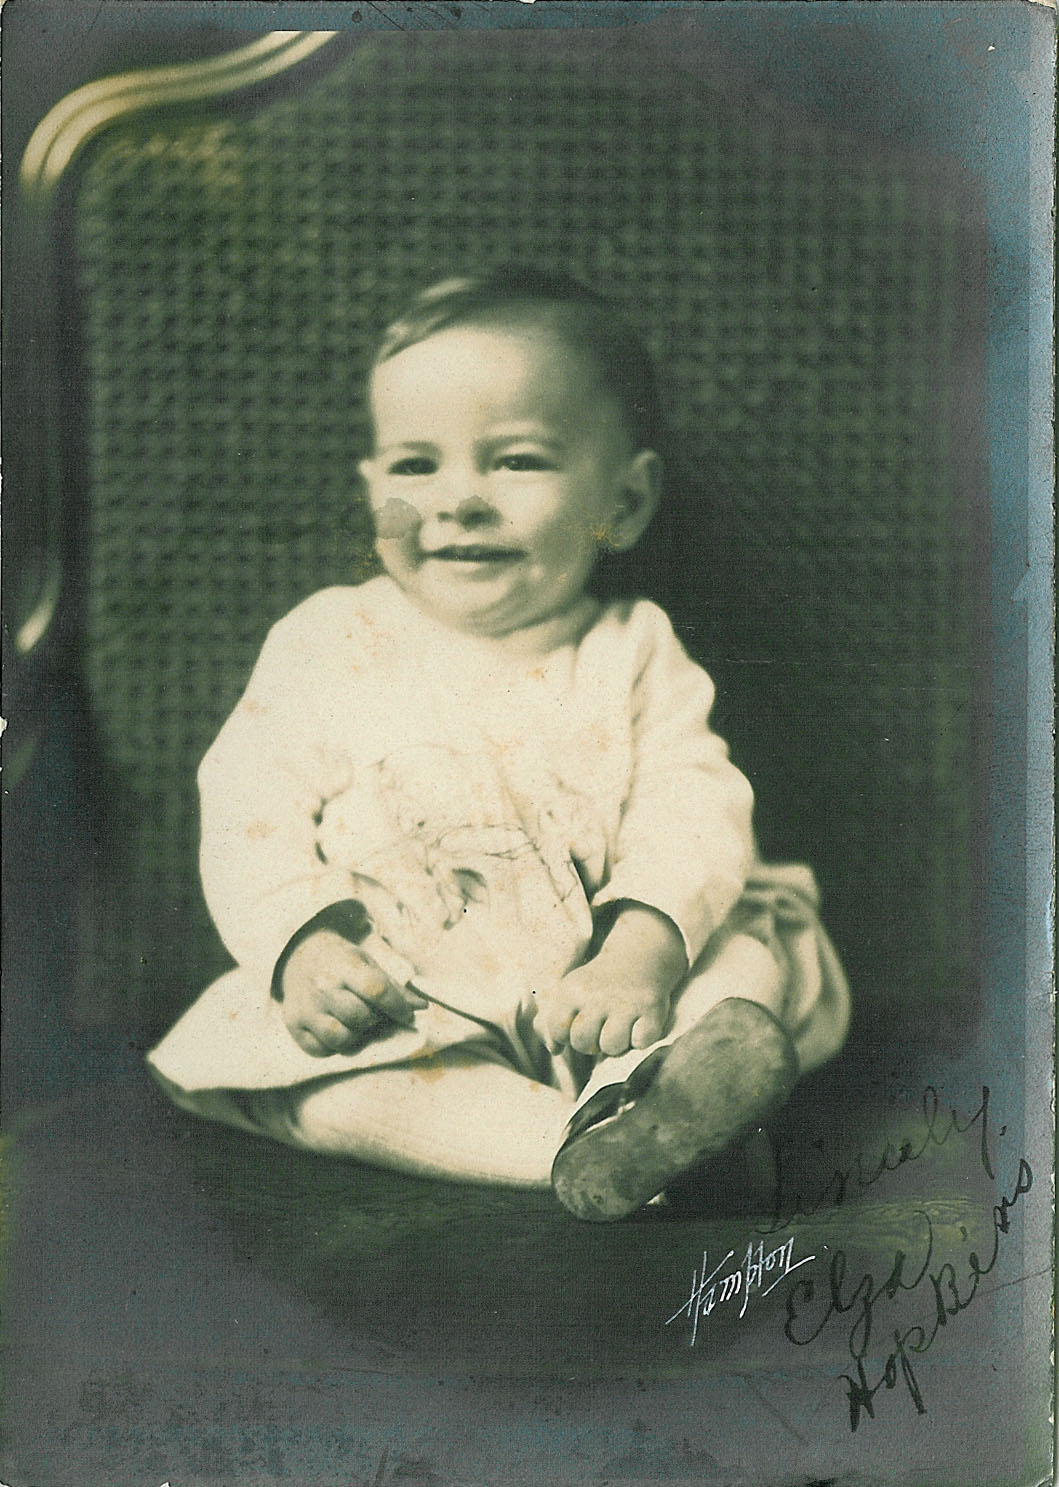
Sincerely, Eliza Hopkins


A New View

I found a second photo of the same little girl from the previous post.  It's a different pose but from the same photo shoot.  What I realized is that the "mold" on the curtain in the 1st photo is actually a flower print.  I've looked over & over at the 1st photo & I still can't tell it's flowers, but it's definitely flowers in the 2nd photo.  This is why I always save a copy of the original photo whenever I do a restoration.  That way, I can go back to the original photo, someday, if I want it to look different or if technology changes.


Friday, December 3, 2010

What a Transformation

I'm not sure who this picture is, the back says "Mrs Butterfield, 1469 Coronado, Long Beach CA".  I'm thinking it might be Mary Indiann Butterfield.

The original photograph was bent, torn & covered in mold.  After I restored it, I decided I wanted to color it as well.  I think it's such a cute photo.

Original

Restored Black & White

Restored & Colored

Nice Recognition

In October I submitted the restored photo of my Grandpa Lender & my dad (as a baby) to Adobe Photoshop.  They had asked for people to submit examples using Photoshop & were going to choose 10 of those submissions to display in their office in San Jose.  Six Hundred & Fifty-Six people submitted projects, some submitted more than one.

Last week I received an email telling me that my photo had been chosen.  While I don't receive any "prize" for being chosen,  it's really nice to know that a huge company like Adobe likes my work.

Thursday, November 18, 2010

Turning a black & white photo into a color photo

Earlier I posted this photo after I had repaired the damage.  Since then, I have added color to it.  Here I am posting the original photograph & the colored photograph.

Original 

Repaired & Colored

Sunday, October 17, 2010

Hamilton Jr. High School Janitors

Before
This photo was taken about 1933.  Grandpa Lee is the 3rd from the right.


After

Dina?

I left the writing on this photo because it's the only clue as to who this is.  I can't figure out who it is but maybe someone else can understand the writing.  The only thing written on the back is "Ma" Mother-in-law.  Someday if someone wants the writing to be removed it'll be a very quick & easy thing to do.


Before

After

The Butterfield Family

This photo is of James Butterfield Sr., Myrtle Butterfield, Helen Winefred Butterfield & James Butterfield Jr.  It was taken in Long Beach, CA around 1916.

Before


After

Saturday, October 16, 2010

Helen Winefred Butterfield

Every time I restore an old photo, I'm frustrated at the lack of info available about the photo.  This photo is one of the rare cases where they actually included more info than I would have asked for.  This is Helen Winefred Butterfield.  Taken on November 7, 1914.  Age 2yrs 2months & 8days.

Originally I thought that this picture would be a simple restoration but once I got in close, I realized that the facial damage was going to take quiet a bit of time.

I wish there was a way to zoom in on my blog so that you can see the before & after photos better.  I'm currently working on creating a website.  Hopefully when I do, you'll be able to see the damage clearer.

Before

After

Saturday, October 9, 2010

Mr. F.M. Hopkins - updated

Ok, I'm finally back to working on this stack of old, old photos.  I've been working on a project for a client which has taken up all my time for a few months now but it's finished so hopefully I'll be able to work through these photos at a quicker pace.

This photo is of a Mr. J.M. Hopkins.  He's 40 yrs old & that's all I know about him.  Unfortunately, like most of the photos in this project, there are no dates.  I've searched through genealogical files & the closest I've come up with is a J.M. Hopkins born in 1934 but has no link (that I can find) to the Hopkins family line that this picture came from, or a J.F.M. Hopkins born in 1956 but I have no way to verify it's the same person.  It's made me see just how important it is to label ALL photos with a Name & a Date.  Other info would be nice, like what's going on in the picture but I won't get greedy.

I really enjoyed working on this photo.  It had liquid spilled on it and other paper stuck to it.  It had been mounted on cardboard so there were no bends or cracks.  I cleaned up the dirt & the spills but I didn't remove the fading.  It wasn't harming the photo but made it look like the old photo that it is.  I don't want these photos to look like the subject walked into a 2010 photo studio & asked for an "old fashioned" photo.

The frame has quite a bit of damage around the edges.  As I got in close, to fix it, I realized that the design was done by hand.  Each circle is unique & there is no pattern to it.  I cleaned the spill off the design but I didn't repair it.  I was afraid that in repairing it, I would lose some of the uniqueness of it.  I also had to hand draw the design on the left of the word "Paris".  There was a piece of paper stuck over the design so I had to fill in the blanks.

Although you may not be able to see it on my blog, Mr. Hopkins' face & body are covered in fine scratches.  In order to remove the scratches without losing the details, I had to remove one scratch at a time. It took awhile.

The photo itself was a Simple Restoration but the frame ended up being a Major Restoration

Before

After


*Update*  I've since learned that J.M. Hopkins was actually F.M. Hopkins (Francis Marion Hopkins).  I guess I need to brush up on my early 1900s cursive.  Anyway, I'm glad that I've figured out his name.  Now I need to dig through the pedigree charts to find out when he was born.  FamilySearch.com is a nice website but it's pulled up quite a few people with the same name.  I guess the search continues.


Friday, October 1, 2010

Back to School Photos

When I was in school, I remember always dreading getting my school pictures.  It seemed I always had that strand of hair sticking out funny or that ugly pimple that just had to show up hours before my picture was taken.  Whatever it was, there always seemed to be something I wanted changed about my photos.

Now there is something that can be done & for a very affordable price.  Let me help you make your school photos look the way you & your student want them to look.

 
Before

  
After

Wednesday, September 8, 2010

Photo Scanning Prices & Details

We offer 2 different types of scanning to fit your needs.

Use our Economy Photo Scanning Service for printed photos as a cost effective way to get your old photos onto a digital picture frame or website.  These pictures are scanned at a lower resolution so they are not ideal for preservation or printing.

Use our Archival Photo Scanning Service for printed photos when you want high quality preservation for future generations and to make photo books, digital scrapbooks, and reprints.

      *Each Archival Scan includes:
           1.  Cropping to the edge of the image to remove over-scan border
           2.  Rotating the image to the proper orientation
           3.  Image-by-Image correcting of exposure problems where possible
           4.  Image-by-Image correcting of color problems where possible

Economy:  $0.20/photo
  Archival:  $0.30/photo

*add $0.05/photo to have each photo labeled


Photo Scanning

I'm excited to introduce photo scanning as the newest product we have to offer.  Whether you're wanting to preserve your old photos or you want to compile a bunch of photos for Mother's or Father's Day, this is a fast & easy way to digitize your prints.

Monday, August 16, 2010

James Butterfield

This photograph was in really good shape except something had been spilled on it.  There was so much yuck on it that it was easier to place James on a new background.  Luckily, the portrait was originally on a solid background so I didn't lose any details by switching it.

 
Before

 
After

Tuesday, August 10, 2010

Make some extra money

Earn $5 by referring your friends or family.  Through the end of August, I am offering $5 for each referral that result in a $30+ sale.  Make sure they mention that you referred them.

Friday, August 6, 2010

The Bionicle Contest

Has anyone ever heard of a Bionicle?  I sure haven't.  I can't come up with a good description so I'll just have to tell you to look at the picture.

One of my clients sons is entering a contest to win a free Bionicle by using his current Bionicles to create a new one.  He took a picture of his creation but his little sister was in the picture & there was a yellow cup in the way.  The photo was also very grainy.   His Mom asked me to do what I could to make the picture look better & this is what I came up with.

Thursday, August 5, 2010

Raymond

I think this picture is really interesting.  It's 3 separate photos developed onto one paper.  Doing this would have taken some time & it would have been extremely hard to square each photo.  If you look closely, the center photo is pretty even but the side photos seem to stretch up & out at the corners.

The photo was also folded accordion style, matted on a piece of black card stock  & then carried around in a wallet.  Because it had been stored in the dark wallet, it sustained very little fading but was very worn.

To fix this photo, I first corrected the discoloration & then squared up each photo & removed all bends & creases.  After that I worked on removing the scratches & the portions that had become worn.
 
Before


After